Lab 2.12 Intermediate Git and Deployment on Heroku
Lab 2.12 Intermediate Git and Deployment on Heroku
Intermediate Git operations
Fork
Fork means cloning a repository from other and continue to work on it by yourself. It may or may not merge back to original depending on your need.
To fork a repository on Github, simply click on the top right Fork button. You will given a list for selecting destination of your fork.
After that, you would have your own copy of the repository.
Basic Branching
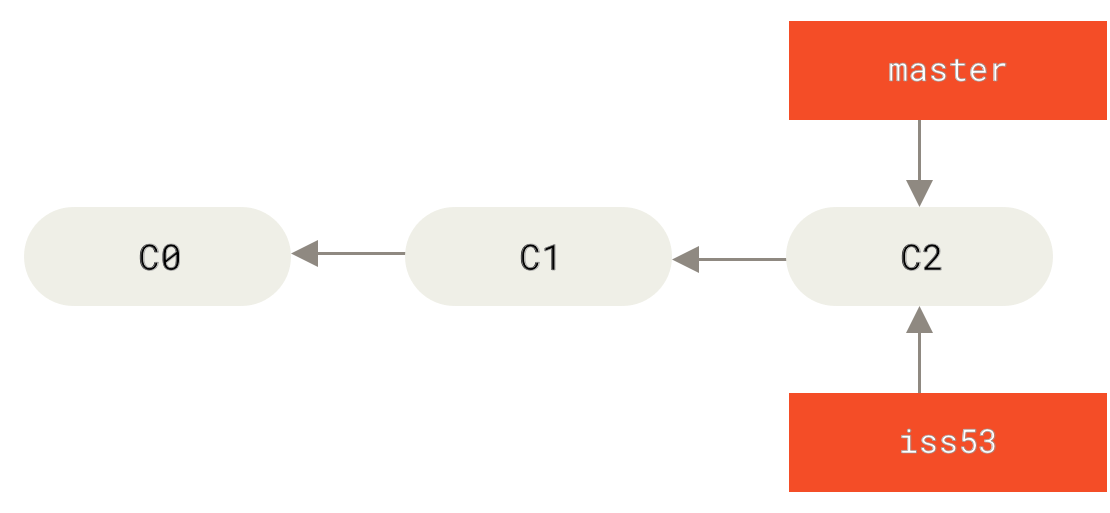
A branch in Git is simply a lightweight movable pointer to one of these commits. The default branch name in Git is master . As you start makingcommits, you’re given a master branch that points to the last commit you made. Every time you commit, it moves forward automatically.
After cloning the repository to local computer, you could create a new branch for development. To create a new branch, we use git checkout command. Here is an example usage of this command. It would create a new branch with name iss53 in your local repository.

git checkout -b iss53
After you did some changes and committed, you could push your local branch to remote by the following command.
git push -u origin iss53
Basic Merging
After you have completed a single feature of your system, the repository maintainer would merge your commit to the master branch for deployment.

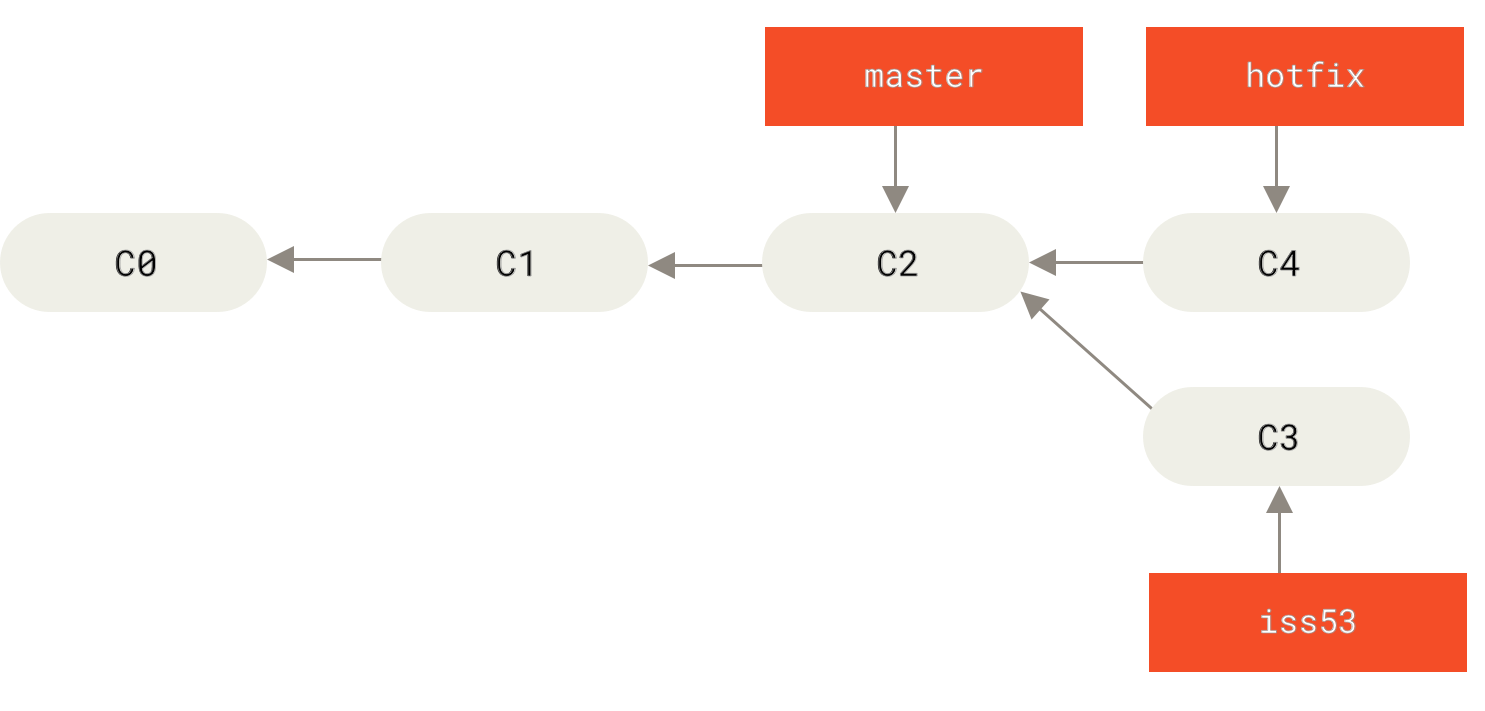
To merge commits from branch iss53, please issue the following commands.
git checkout master
git merge iss53
After that, you would push the master branch to Github for deployment.
git push -u origin master
Deploy to Heroku
In Continuous Integration, we would like to automate the deployment. Follow this practice, we are maintaining a working product, adding new features in it everyday.
There are several Cloud Service providers supporting Node.js application. For example, you could run Sails on Google App Engine and IBM Bluemix. Today, we are going to deploy your Sails app to Heroku via Github.
Heroku
Heroku is a Platform As a Service (PaaS) provider, which could also run our Sails app on cloud. Let’s sign up for an account on Heroku (in case you haven’t), or sign in with your account.
|Sign up|Log in|
|—-|—-|
| |
|
After you have logged in, this page would list out all your apps. Please click on Create new app to create your first app on Heroku.
Create a new app
You need to input a name for your app in App name. It will become the first part of domain name for your app. For example. if you input kennycheng, the domain name for your app would be https://kennycheng.herokuapp.com/.
Deploy with Github
Let’s deploy the Sails project from Github to Heroku. Please click on Github in Deployment method, then click on the Connect to Github button on below.
It would ask you to authorize Heroku for accessing your Github account. After connected to your Github account, you could search the repository and connect it to Heroku.
Automatic deploys
You could enable Automatic deploy by clicking on Enable Automatic Deploys button. Once you have commit pushed to the master branch, it will deploy on Heroku automatically.